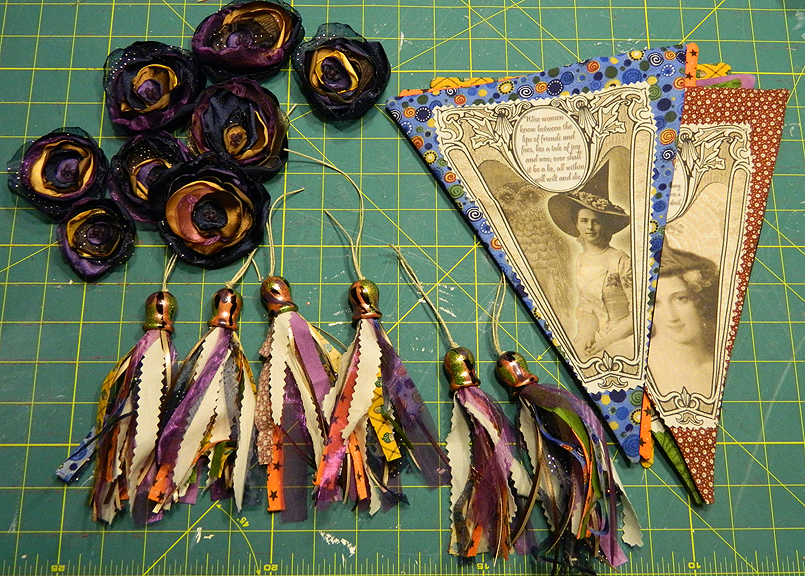
Are you starting to see where I'm going with this? :o) Tomorrow you will see the completed project. Here's the supply list for this last piece of the puzzle.
Materials:
Materials:
- 6 choices of fabric (I used some quilting fabric that a friend gave me when she cleaned out her stash)
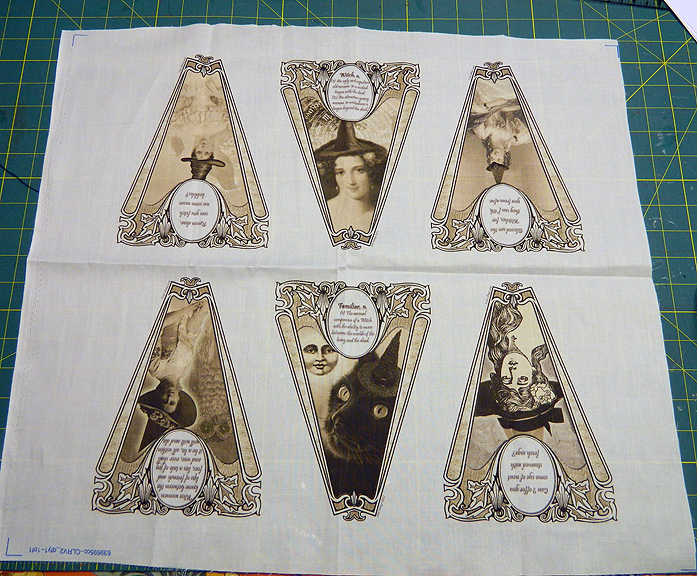
- My "Sassy Witches" print available for $10.50 on Spoon Flower (http://www.spoonflower.com/designs/1453573)
- Sewing materials - sewing machine, thread, scissors, iron & hand needles (optional pinking shears)
- 1 yard of fleece binding (you can bind with what ever you want, I just happen to have 1 yard of black fleece binding in my junk drawer of binding tapes, hem tapes & other strappy pieces)
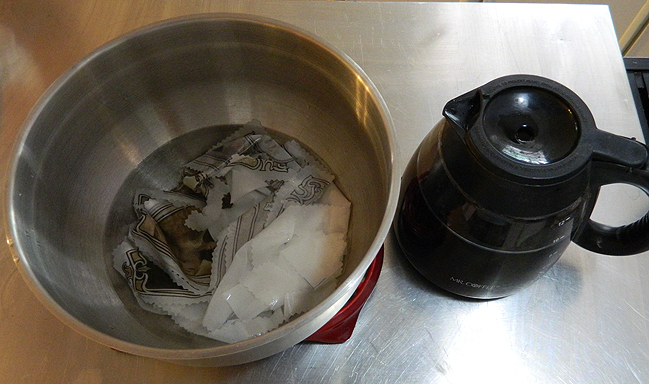
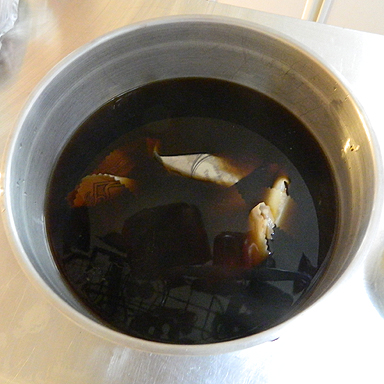
- Coffee or tea & a glass or stainless steel bowl (optional)
| 
|
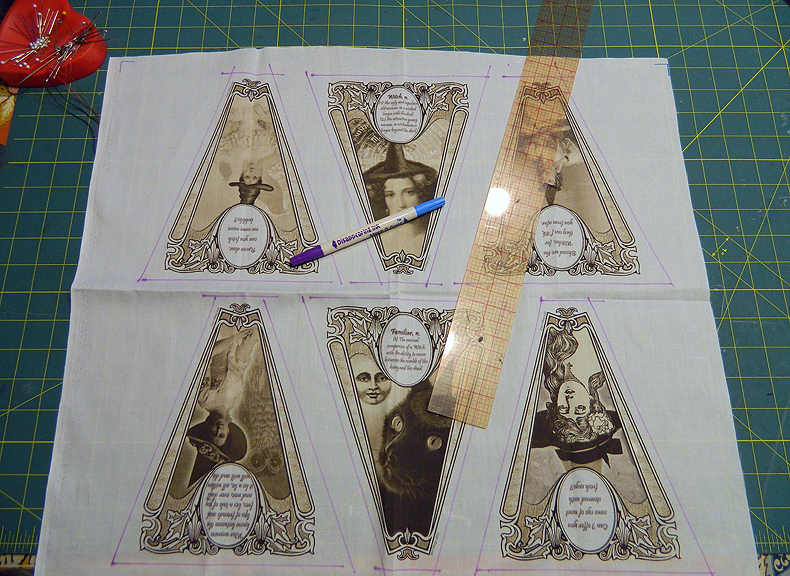
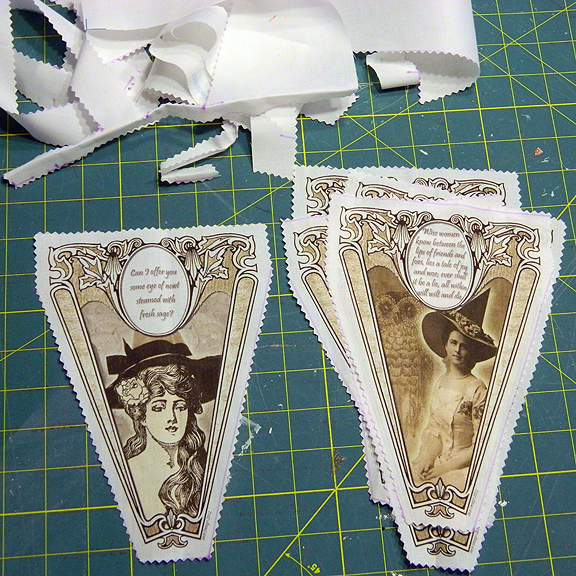
Step 2: Cut out your Witches. I started by marking my Witches up with 1/4" lines to cut on (later I went in & decided to cut them down closer). I used my trusty clear grid ruler & disappearing ink marker. Then I cut those out with pinking shears.
| 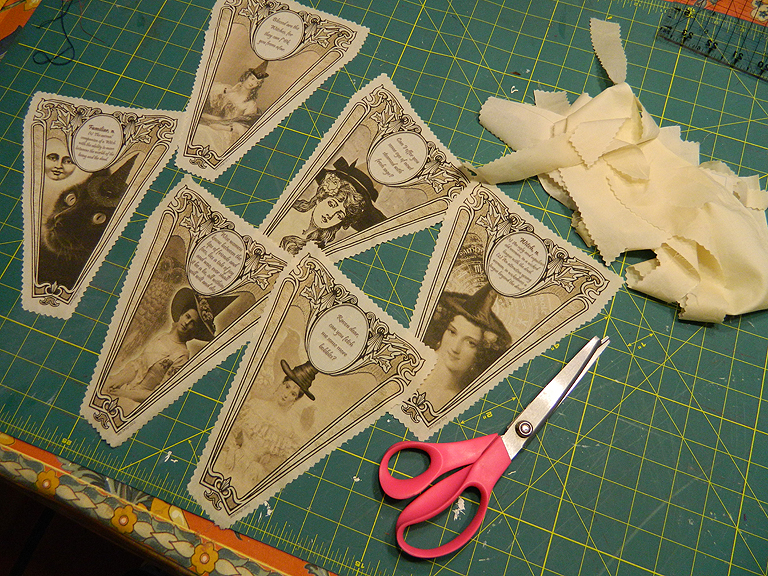
I goofed & cut my Witches out before dying them, but they still came out OK. I dyed all my scraps too - those were used in the tassels. |
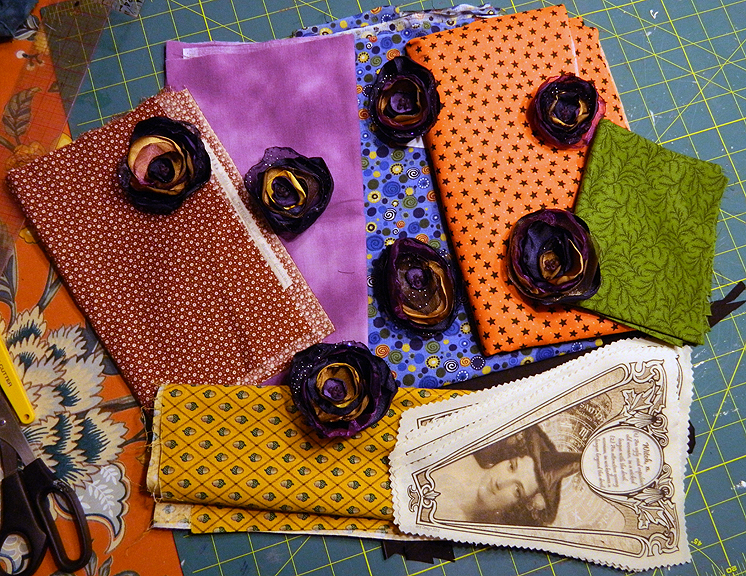
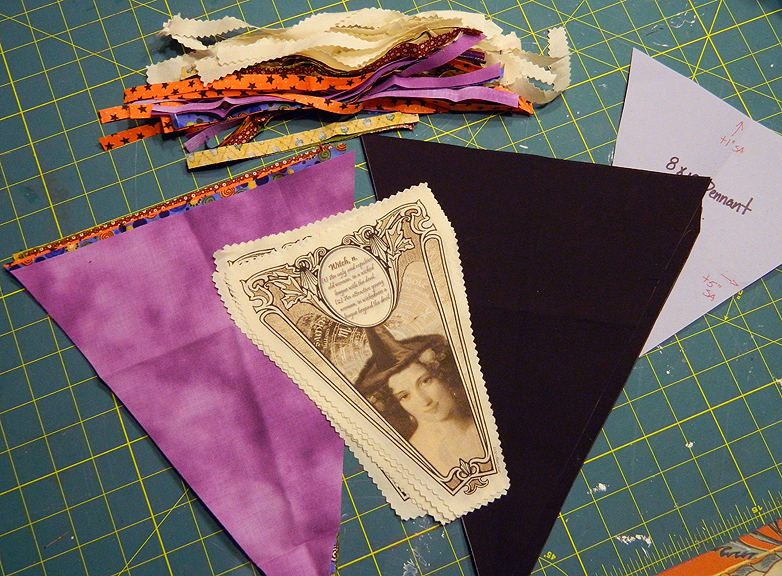
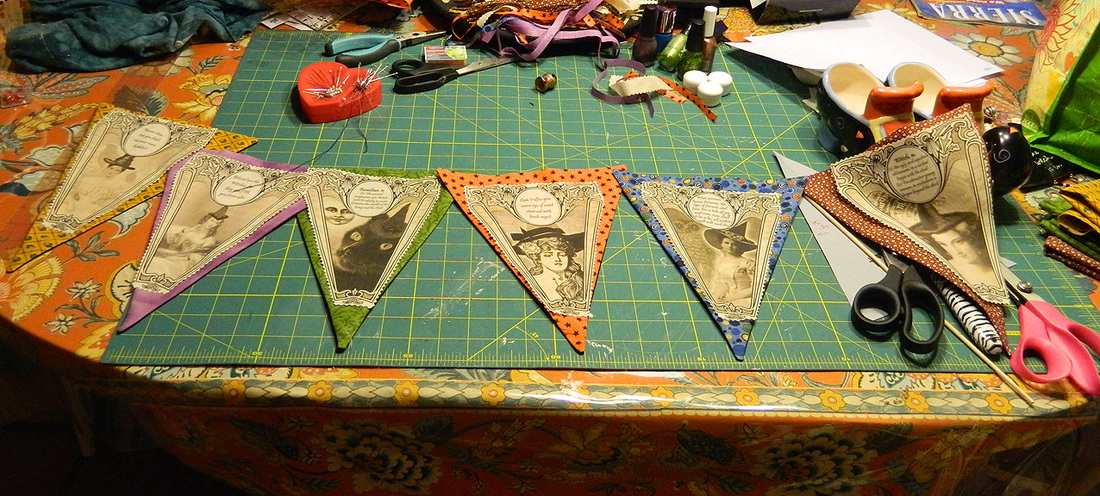
Step 3: Pick out your colors or facing fabric. I'm not into the whole orange & black halloween, so I use multiple colors to decorate. It all works out in the end. I've got orange, gold, green, copper, purple, blue & midnight blue all mixed in there somehow.
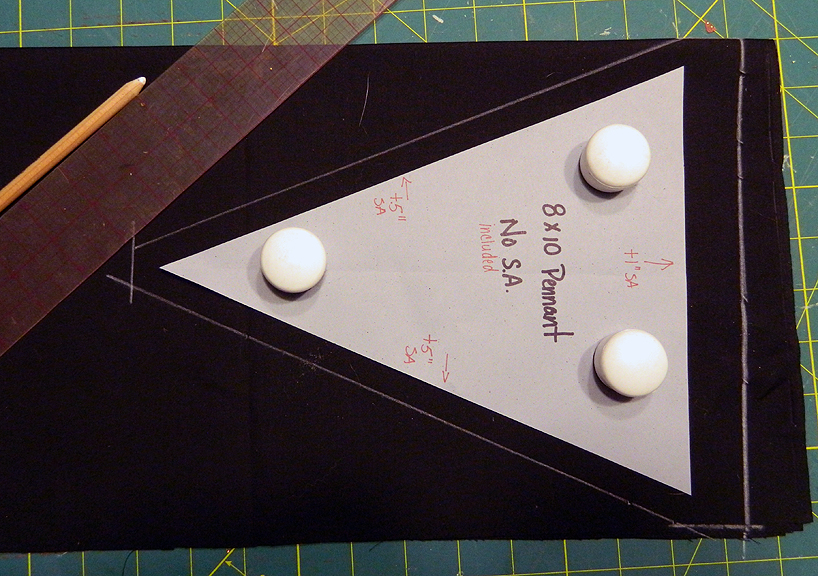
Step 4: Now cut out all your fabric. I used black broadcloth to back mine (so cut 6 of those). Cut out 6 of your front facing fabrics (my were multi-colored). I made a simple 8"x10" triangle template & then added my seam allowance before cutting them out - 1/2" on the sides and 1" on the top (to allow for binding tape).
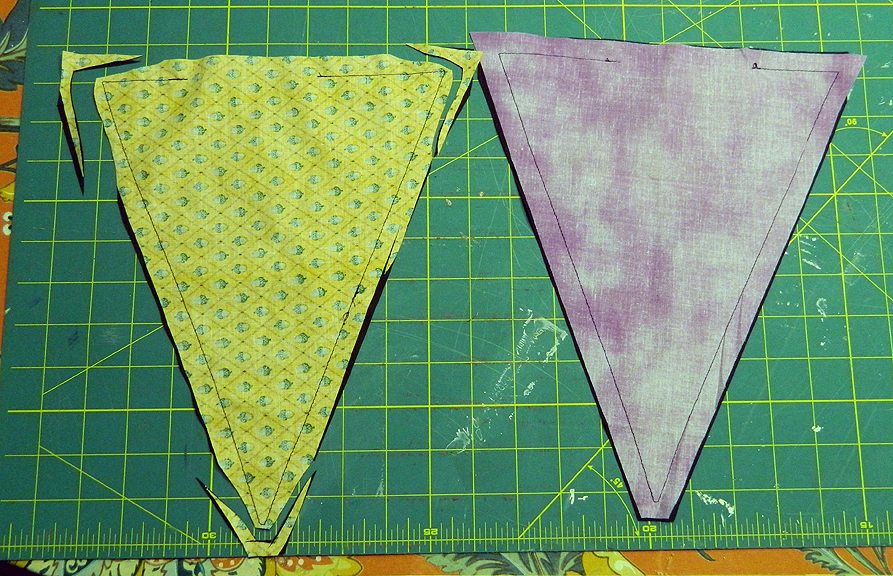
Step 5: Sew your pennant flags together. Start by sewing your facing fabrics to the black broadcloth (right sides together). Start at the mid top, stitch around & end back on the top leaving an opening to turn. Finger-press open all your seams, clip your corners & turn your flags right side out. Press.
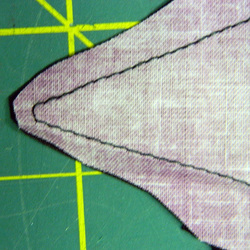
I put one little stitch in the bottom point of my flags. That give me a little wiggle room for turning it out & making sure I get enough of my face fabric to show in that little point.
PS - I ended up clipping the seam allowance even closer than this shot shows.
Step 6: Lay out your pressed pieces with the Witches on top. Figure out your design (if all your flags are different like mine). Pin them down & get ready to head over to the sewing machine again.
(I'm a messy Crafter & I don't care who knows it!)
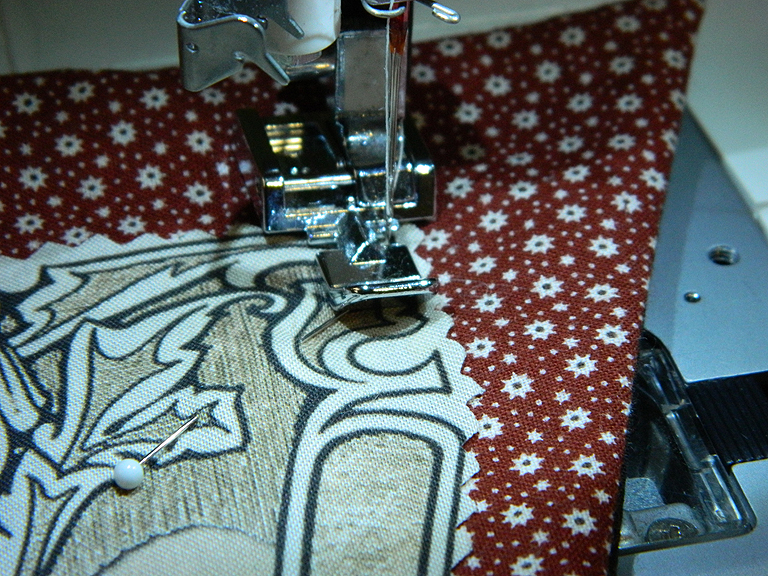
Step 7: If you've never done so, say hello to your zipper foot :o) Set it so that you can easily see the edge of the applique Witch fabric. I used ivory thread & bobbin to blend in with my Witches, and I stitched in between the lines on the pattern so my stitches would be discrete. I wanted the fray edge look, but not the stitches.
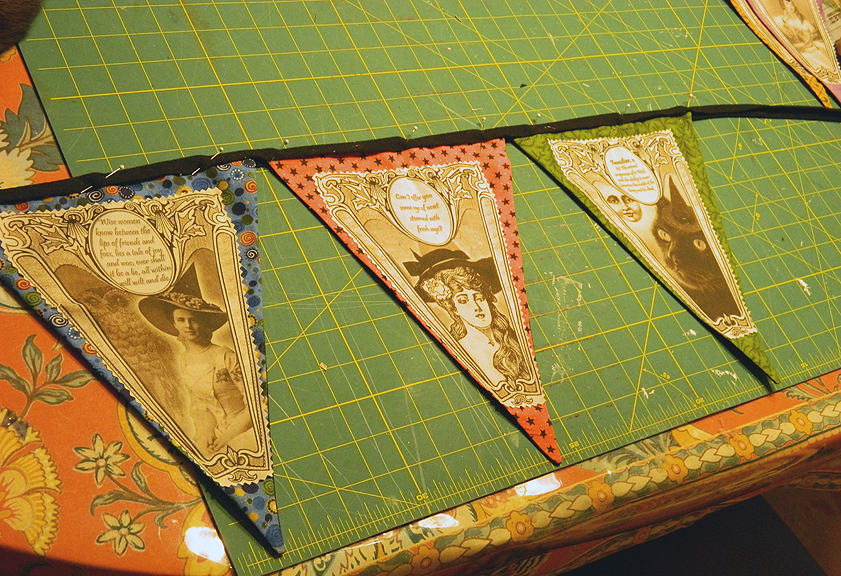
Step 8: The binding. I used 1 yard of black fleece binding, but you can use any binding tape, or cut your own. you don't even need tape, you could just tack the flags to a piece of ribbon, but the weighter the fabric, the better for holding the shape when it's all done. Start with the center point of your tape & work your way out. Place each flag the same distance away from each other & pin them down. Then take it to your sewing machine (still using the zipper foot) & stitch the entire thing (now you know why I didn't have a step in there to close up the openings in to top of those flags - this will get'er done here).
Wanna see what it all looks like together? You'll have to wait until tomorrow!
(I'm so mean)
(I'm so mean)