Do you travel? Do you have shoes? Do you have old t-shirts? Wanna make a shoe bag from your old t-shirts? Of course you do!
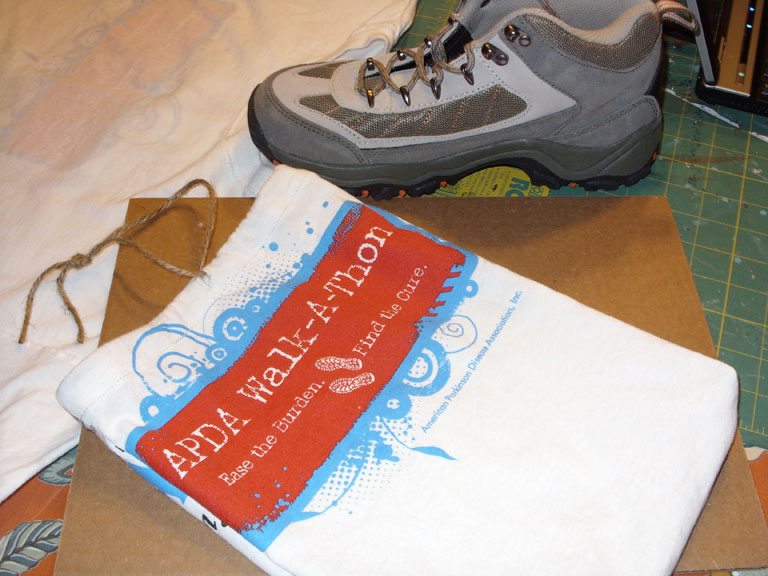
I make my cute old t-shirts into grocery bags, but what do I do with the ones that are not so fashion forward? Well, now I know - shoe bags! My husband and I participate in a walk for Parkinson's disease every year & they always want to give us event t-shirts, but I don't really want to wear them. So I take them & make little baggies with the sleeves & rags with the body or what ever - well I finally turned my brain on. So without further ado - here's the how to...
SUPPLIES:
- 1 old t-shirt (pretty much any size is good except baby t's (well, maybe a chubby baby))
- cutting & sewing skills (preferrably a sewing machine)
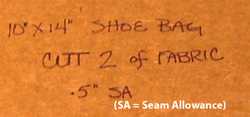
- A 10" x 14" piece of pizza box cardboard (ok, any box will do)
- 24"-30" piece of string, twine, ribbon or any other tying material
INSTRUCTIONS:
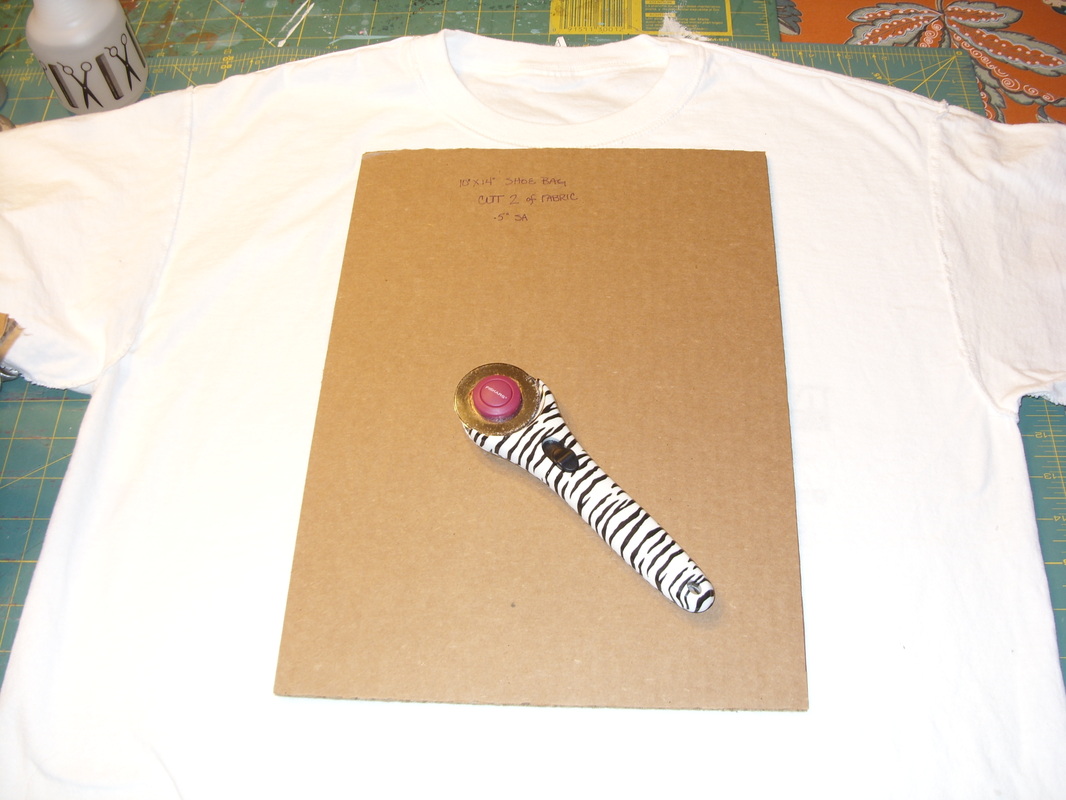
Use a 10" x 14" of cardboard (or paper if you want) as your pattern. Turn your t-shirt inside out & lay your pattern on top (make sure to keep any design elements within the cardboard pattern). Cut it out and pin the sides and bottom.
This pattern allows for 1/2" seam allowance on 3 sides and a 1" - 1.5" hem on top (your preference).
This pattern allows for 1/2" seam allowance on 3 sides and a 1" - 1.5" hem on top (your preference).

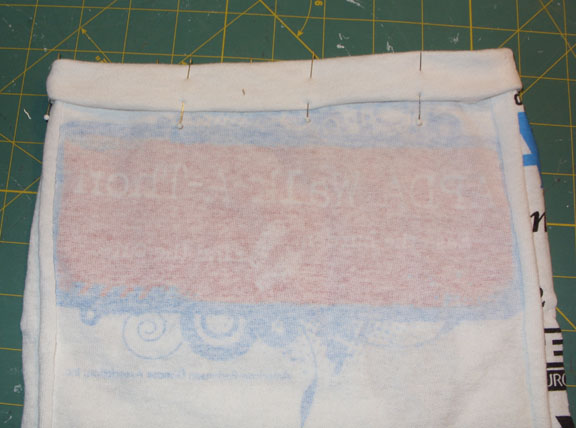
Sew the sides and bottom with a straight stitch (you can also use a straight stretch stich on your machine, but I just used a regular one). Fold your top hem over 1/4-1/2 inch, then again 1 inch - press & pin. Stitch on the bottom edge of the hem to form a casing - ALL THE WAY AROUND - don't leave an opening - your going to cut a slit for you rope.
To get those fancy corners, pull apart the front & back of the bag & lay it out so that your left & right seams are face to face. The bottom of the bag will not lay flat anymore, so at the corners you want to finger press them seams together, & stitch across about 1"-1.5" in from the point. I exaggerated my image below to illustrate (sexy no?) :-)

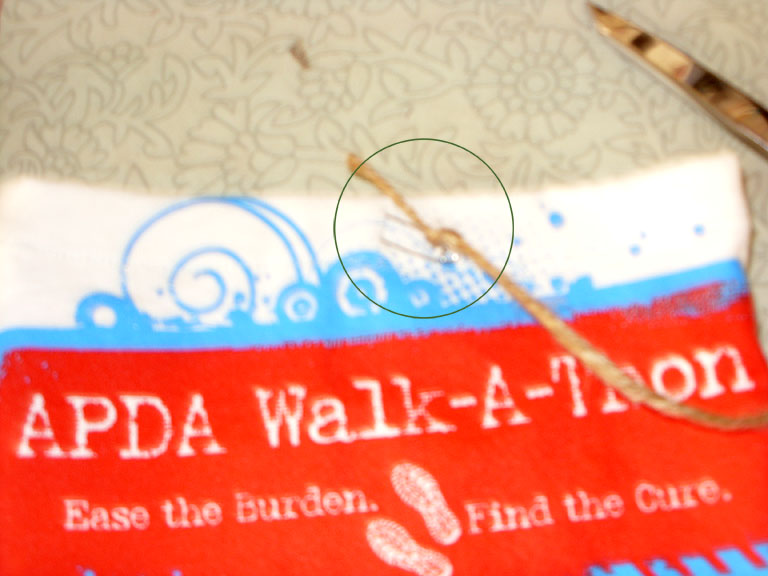
After everything on the bag is stitched, turn it right side out. Cut a tiny slit in the front of your bag hem line - through only ONE layer of fabric. Tie a knot on your cord, attach a safety pin (circled below) and feed it through the hole, around the hem casing & back out the hole again. Tie the two cord ends together. DONE!
No more stinky, dirty shoes touching your clothes in your gym bag, yoga bag, overnight bag, suitcase, trunk of your car, or just use it to hide the flip flops in your bottom desk drawer.
Happy Crafting!
Happy Crafting!