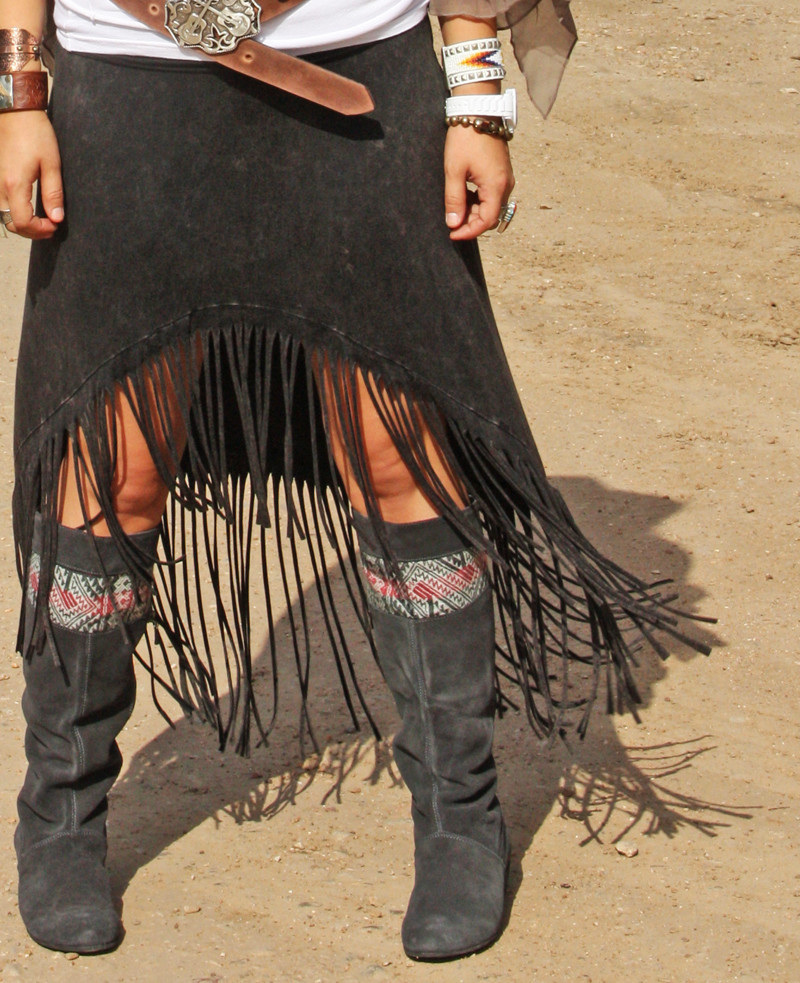
Most people who know me know that I'm dressed like a hippie as often as I can get away with it. Being a native Texas girl, I'm also inspired by western & southwestern styles as well... so I guess it's no surprise that I'm now in LOVE with the Junk Gypsies. I'm going to take a stab at restyling a thrift store dress (to be posted when completed) into a Junk Gypsy style skirt. Here's my inspiration piece:
Stay tuned to see how mine comes out!
My version
I found a knit maxi dress at my local thrift store to use as my guinea pig. The results aren't bad, but I have a couple lessons learned from this first effort. Here's mine, not quite as sexy, but still pretty cute...

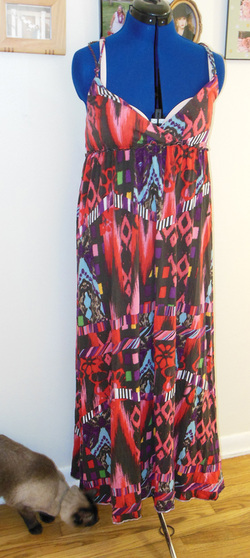 Here's my $3 maxi dress that I started with. | Step 1 is to turn the dress inside out on the dress form & tie a rope around to mark the waistline. I marked just under my robe with a felt tip pen to mark my waistline. 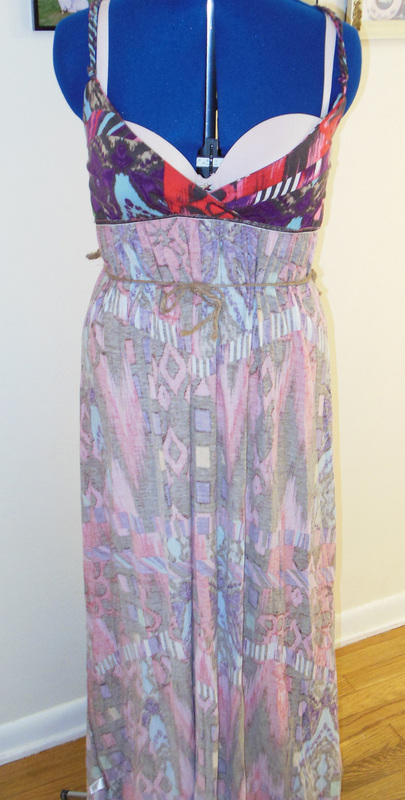 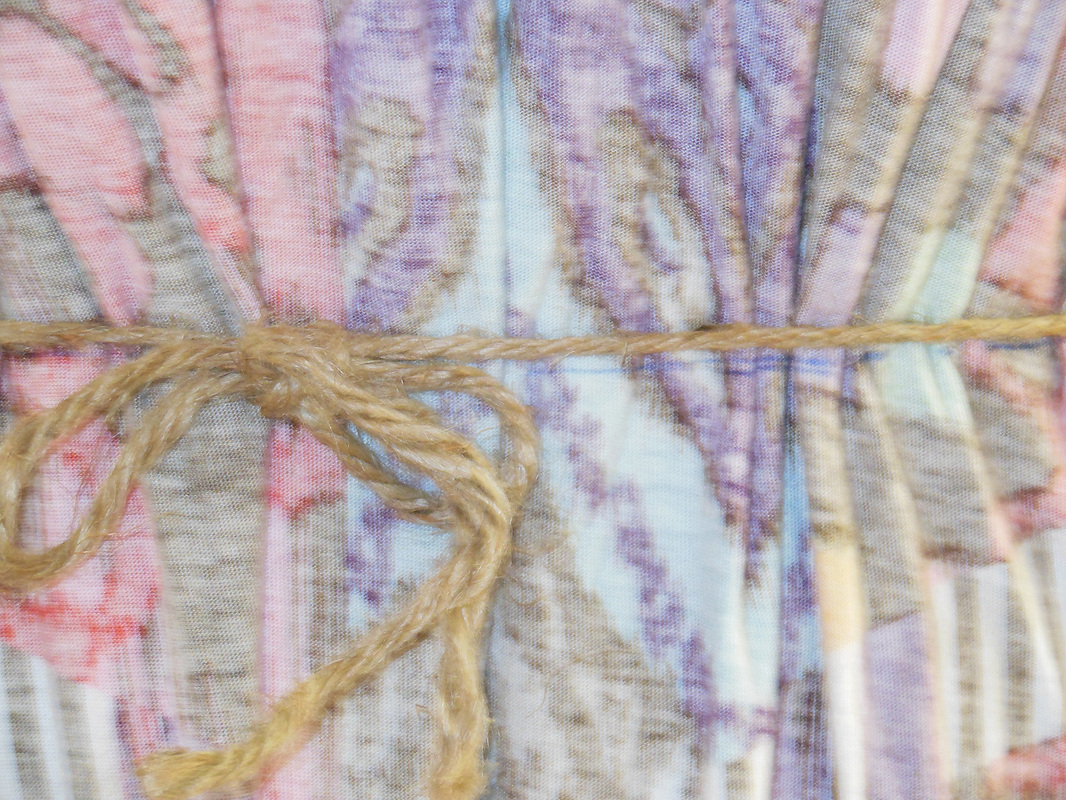 |
| Next I marked the length I wanted the fringe to come up to in the front and back. (there's a tiny line down there on the center back (CB) seam) 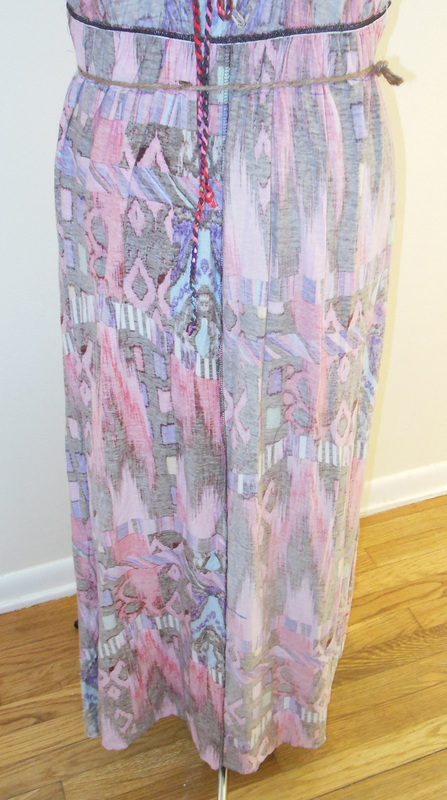 | Step 2: Take it off the dress form & cut the waist in the round - in otherwords, don't cut through both layers at once, cut it all the way around as if it were still on the form. My waistline is about 1" below the waist line on my dressform, so I cut right on my line, but the rope represents where you want the waistband to fall when it's complete, so if you are using your own body to measure it, be sure to add 1" - 1.5" above the rope line as seam allowance for your waistband. 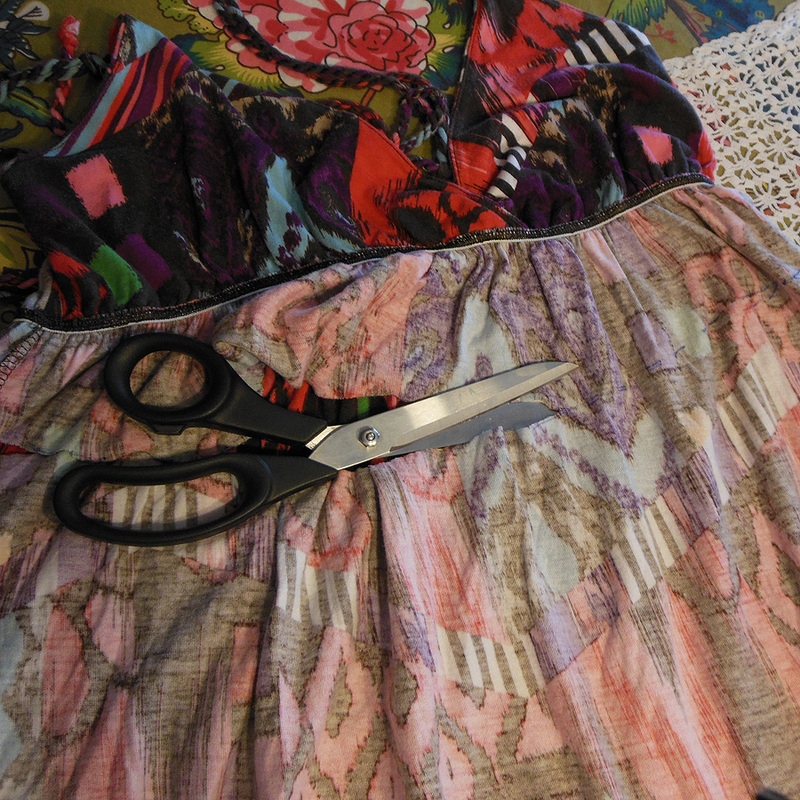 |
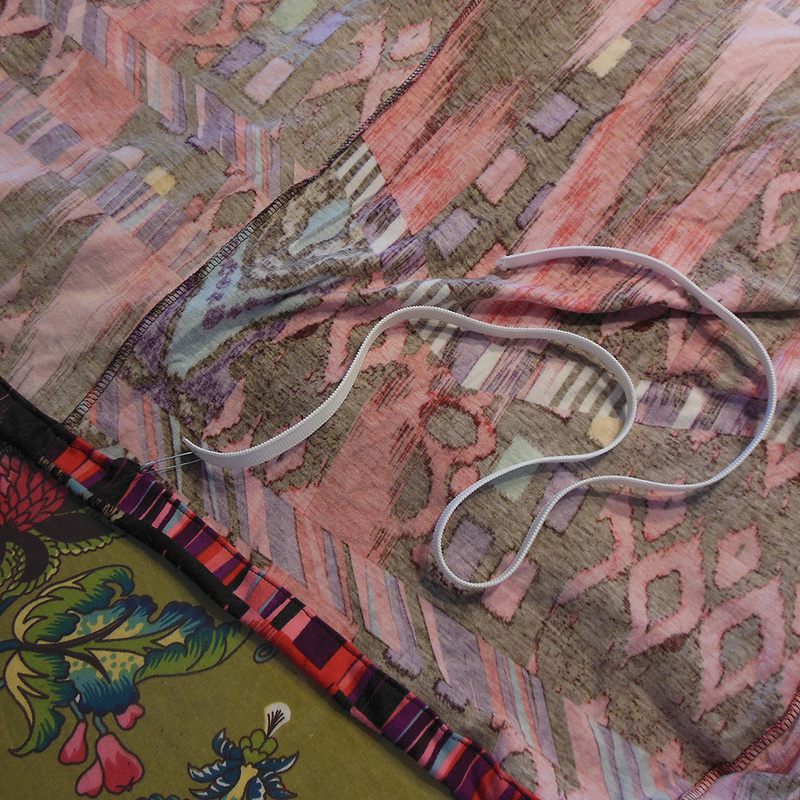
Step 3: Now sew your waistline. I had some 1/2" knit elastic that I needed to use up, so my waistband case is only about 5/8" wide. Fold over the raw edge about 1/4" & then fold again the width of your elastic & stitch all the way around, leaving a small gap to insert your elastic.
Step 4: Insert your elastic into the waistband casing.
 Use a safety pin on the end of the elastic to help you feed it through the case. | 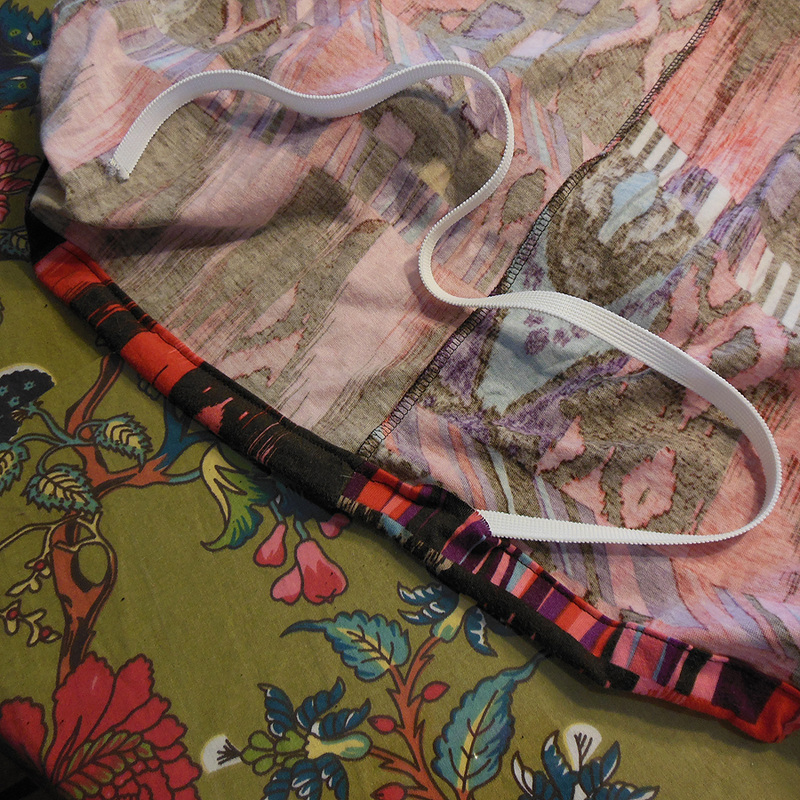 | 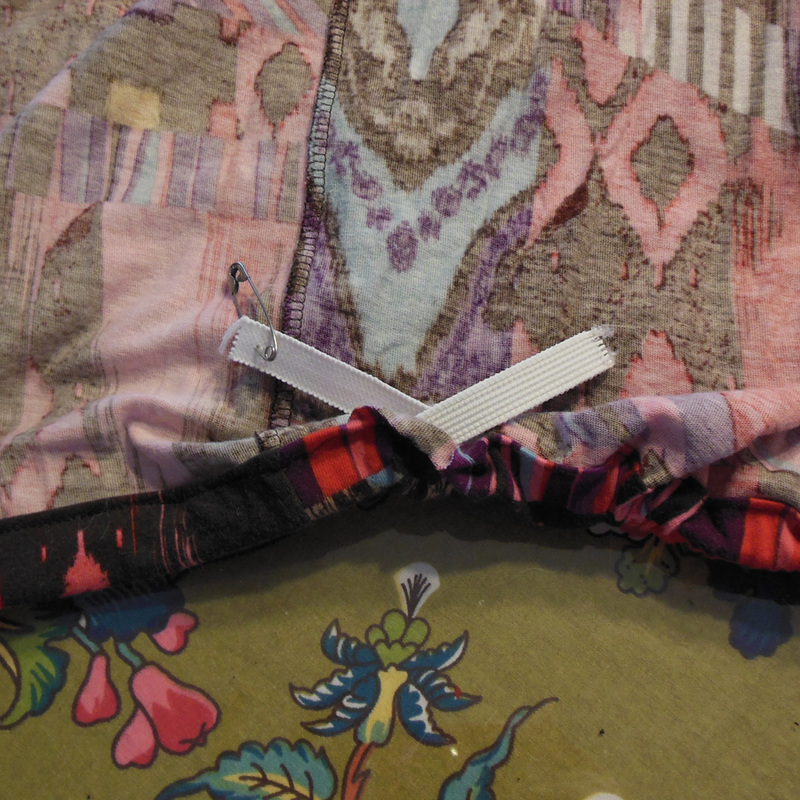 When done, make sure you check that the elastic did not twist before you secure the ends. |
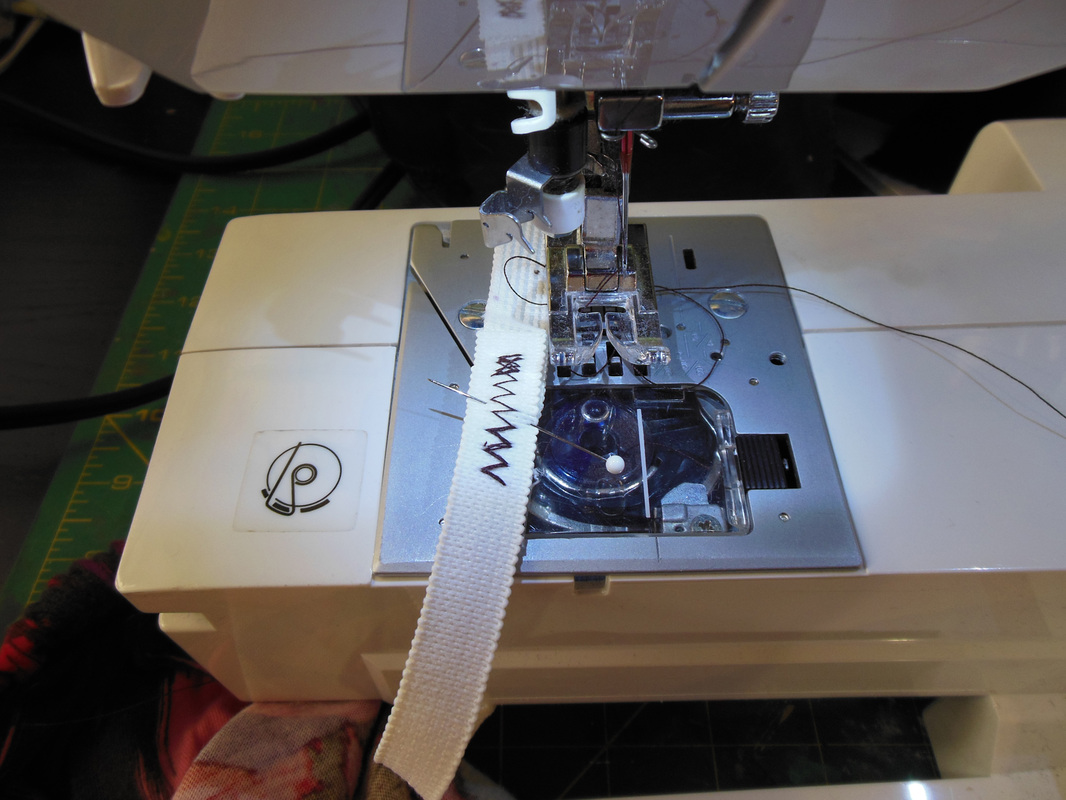
Sew the ends together. I stack mine & use a zig-zag stitch to secure.
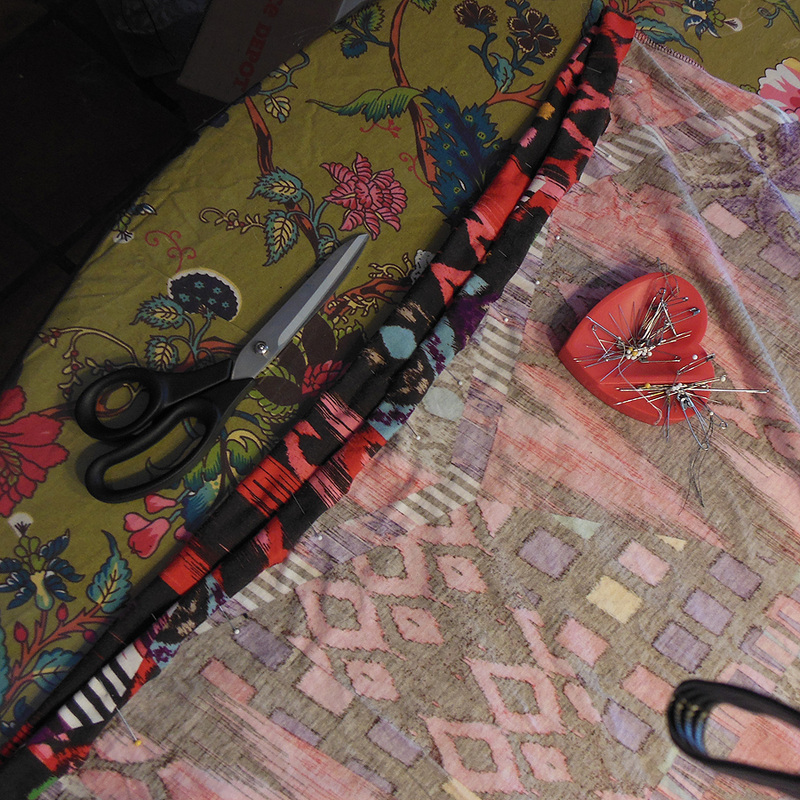
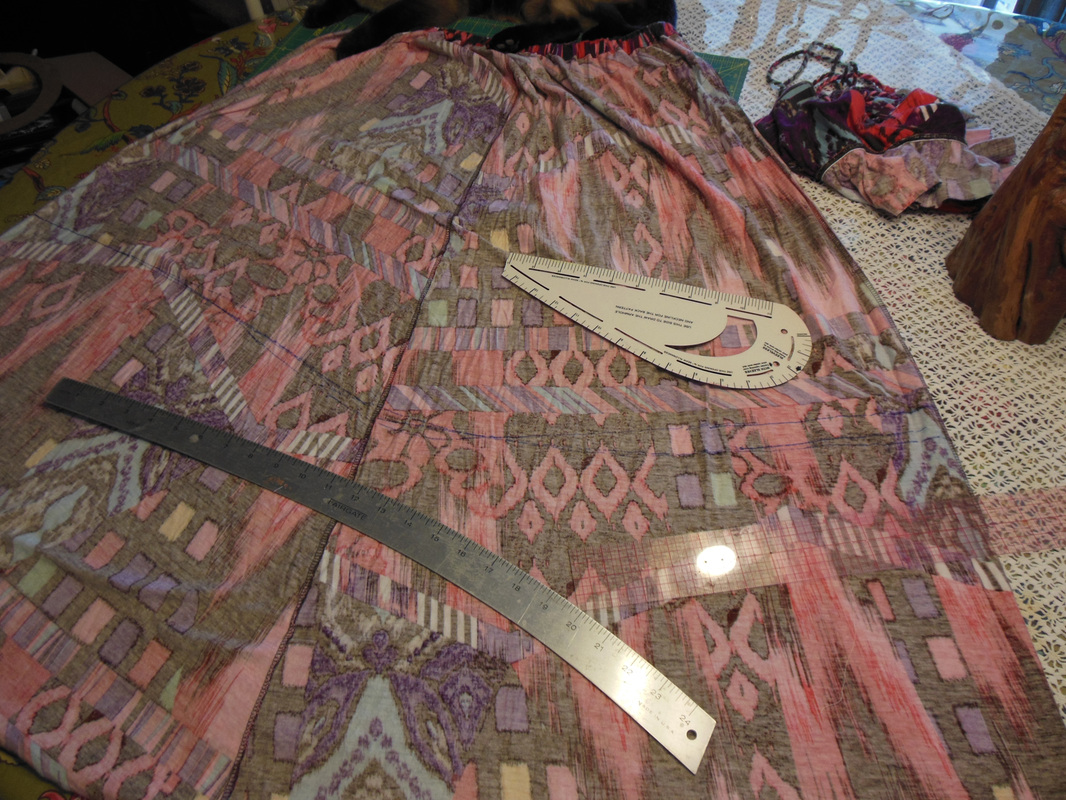
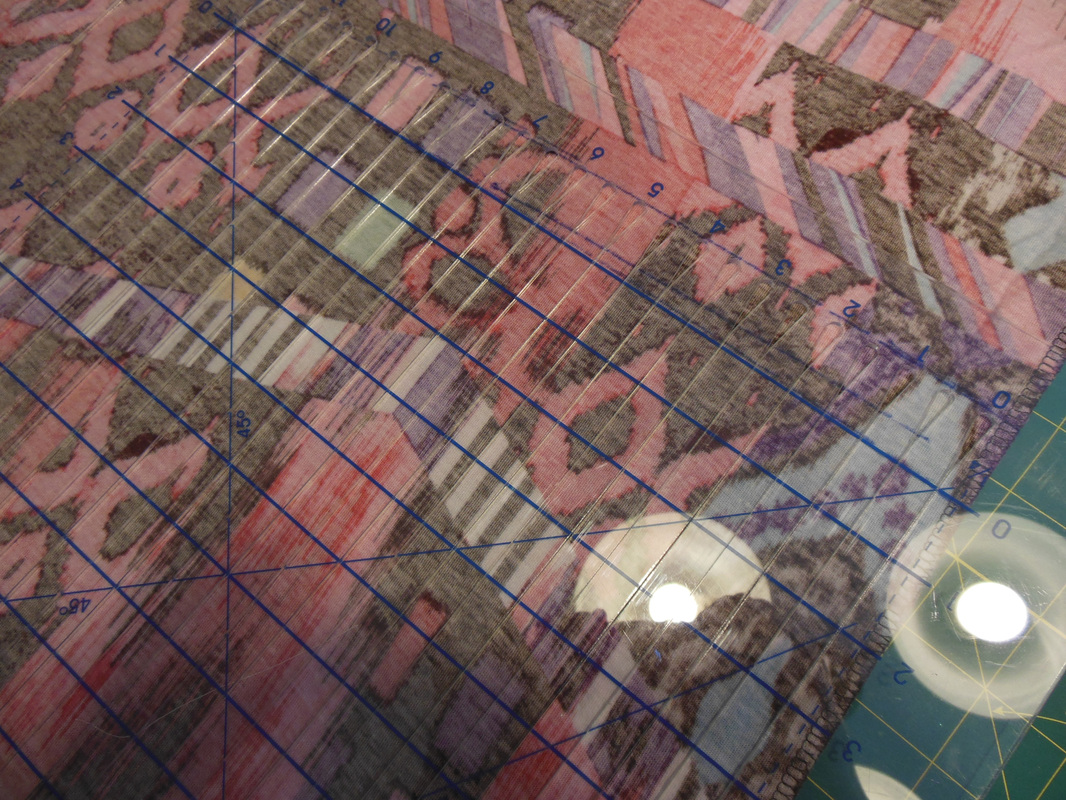
Step 5: Mark & cut your fringe pieces. I laid my skirt out with the side seams stacked one on top of the other so that the center front (CF) & back where the outside edges when laid on the table. Then using the CF & CB markings I made while it was on the dressform, I drew a line between them.
LESSON LEARNED ONE: I had planned to have the front shorter than the back, but I don't think I had quite enough difference in height between them & somehow my curve was dipping at the side seam. I think next time I'll mark this before I sew the waistband, or mark the 4 CF, CB & SS points with a hem marker, then connect the dots.
LESSON LEARNED ONE: I had planned to have the front shorter than the back, but I don't think I had quite enough difference in height between them & somehow my curve was dipping at the side seam. I think next time I'll mark this before I sew the waistband, or mark the 4 CF, CB & SS points with a hem marker, then connect the dots.
Step 6: Start cutting fringe. I have a special ruler with slits every 1/2" that I used to keep my rotary blade on track. I cut my fringe into 1" wide piece because I knew it would roll up when done. I cut through both layers at once from the bottom up to my marked line.
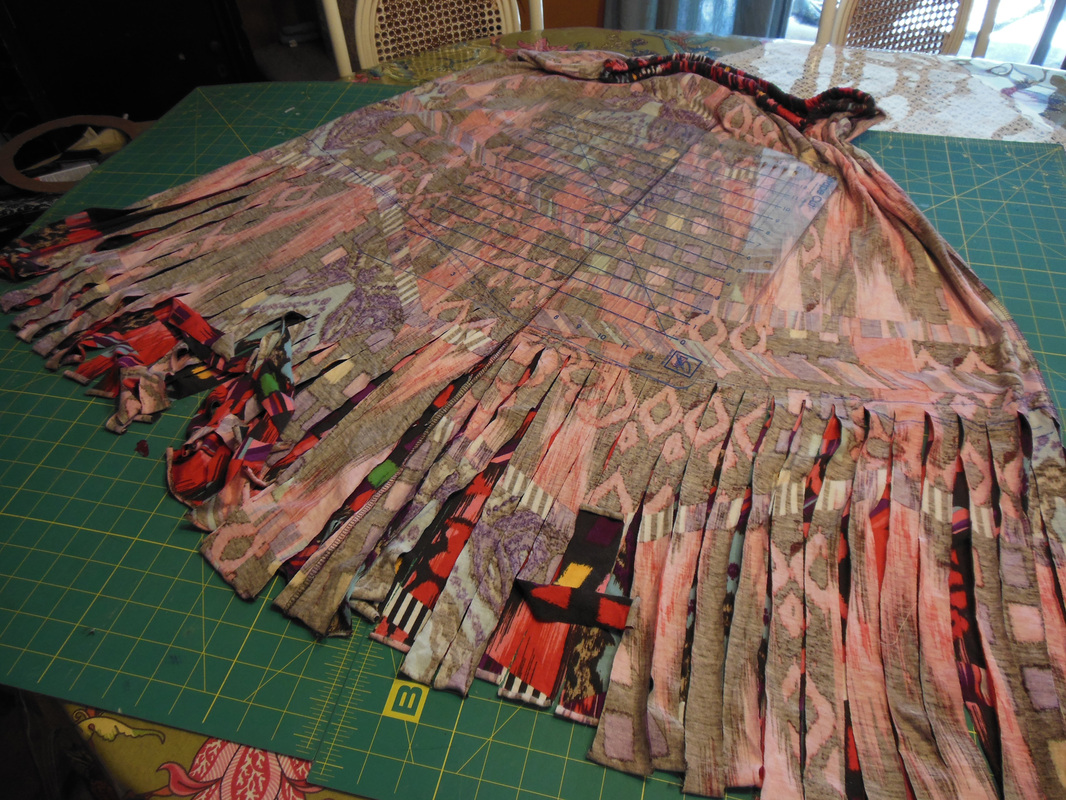
Step 7: Put on a good movie & grab a spot on the floor to start tying knots. Back on the dressform, tie the first row of knots all the way around - my knots are are about 1" - 1.5" down from the top of my fringe line. Then knot the second row using 1 tail from each side in between the first row of knots & knot again.
 | 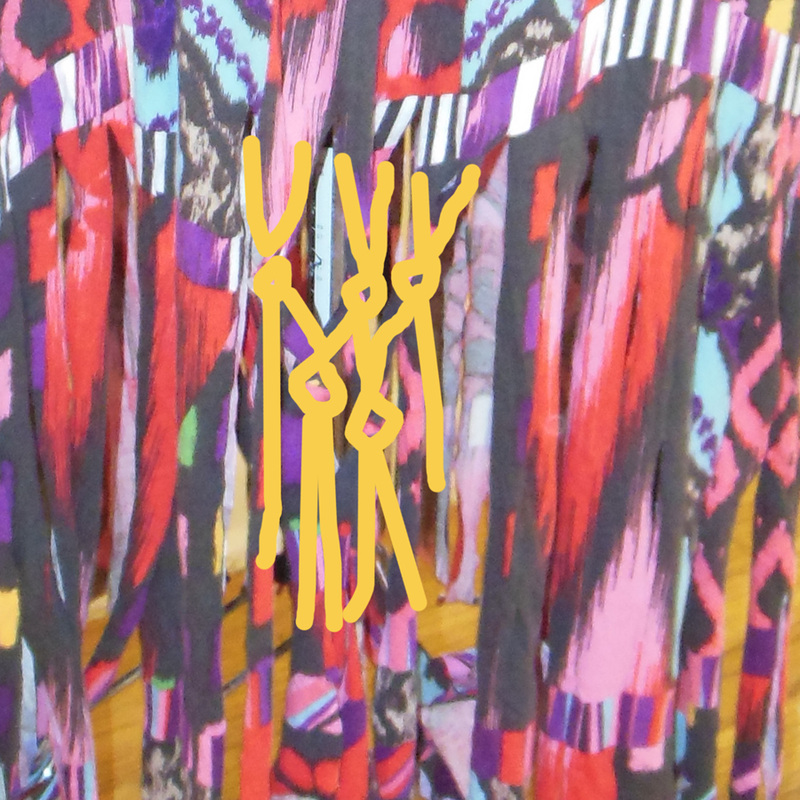 I know it's hard to see - so i crudely drew the fringes & knots. |
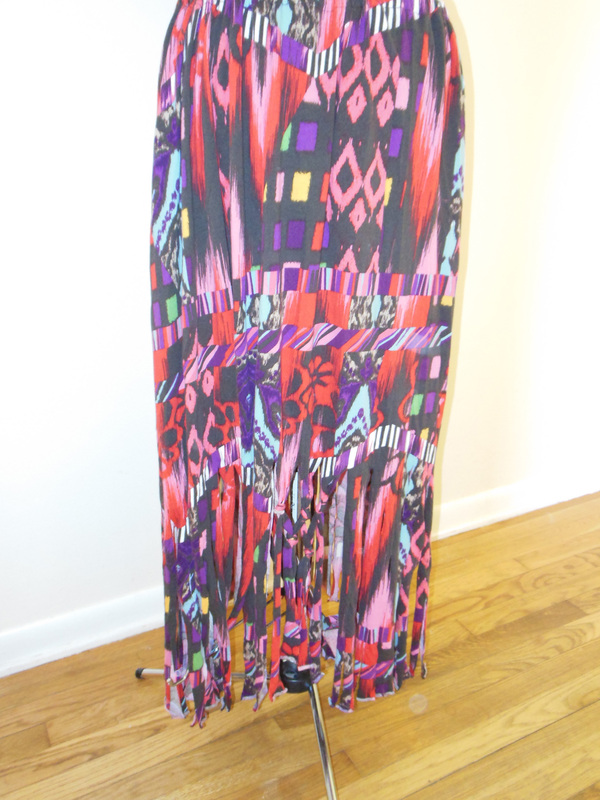
Ta Da!

LESSON LEARNED TWO: This came out longer & fuller than the Junk Gypsy skirt - on my next attempt, I'll pick a tighter skirt & get my asymmetrical shape laid out better. I do like my knots though - think I'll keep those. :o)