I'm so an ameteaur when it comes to gardening, but I love my herbs! I've taken some classes on herbs for
medicinal uses, for skin care, for ointments, tinctures, cleaning oils, on & on & on... However all of that depends on my ability to grow them in the south texas heat! Right now I have some lovely sage, rosemary, lemon balm, & 3 kinds of oregano that all needed pruning. My house is already full, so where the heck am I going to put all these herbs? Answer - make a drying rack for the garden!
I fully admit that this was NOT my idea :o) This is another idea that I stole, but I'm grateful for the inspiration. And, I just so happen to have a piece of wire mesh laying around. I purchased new 2x2's (bad me) because I didn't have any wood or branches laying around that were the right size.
On to the project:
SUPPLIES
(2) 2"x2"x24" Wood or branches
(2) 2"x2"x32" Wood or brances
(1) 24" x 33" Wire mesh (or chicken wire, or a baby gate, or something)
(2) Eye Screws
(1) 24'-30" piece of chain
(2) "S" hooks
(1) large cup hook
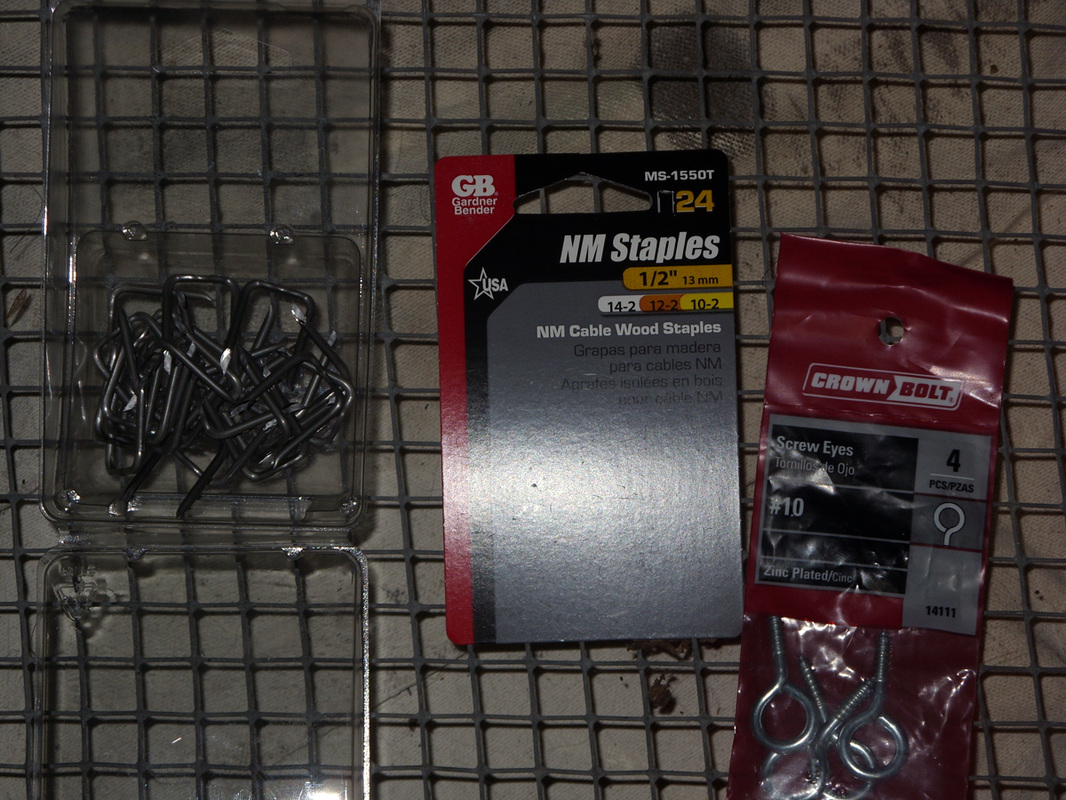
a package of wood "U" tacks
nails & hammer (or a nail gun)
Herbs
Twine
Clothes pins
HOW TO
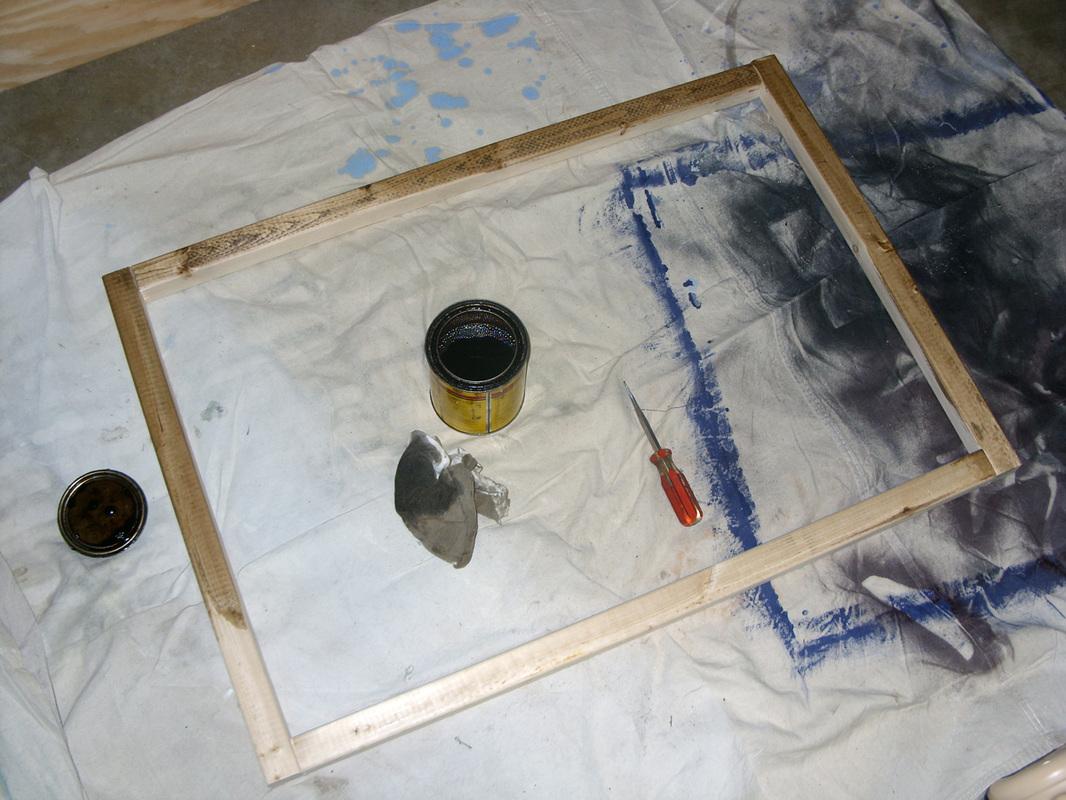
STEP 1: Start with a simple frame. I already had a piece of mesh measuring 24" x 33" - so I used that as my foundation for the measurements. I cut my 2X2's into two 24" pieces & two 32" pieces. Then I nailed them together to form a rectangle.
STEP 2: Stain or paint your frame. Expecially important if you are going to use this outdoors like mine. I stained it using old stain I already had in the garage & a scrap of old t-shirt (t-shirt rags work the best for staining).
(2) 2"x2"x24" Wood or branches
(2) 2"x2"x32" Wood or brances
(1) 24" x 33" Wire mesh (or chicken wire, or a baby gate, or something)
(2) Eye Screws
(1) 24'-30" piece of chain
(2) "S" hooks
(1) large cup hook
a package of wood "U" tacks
nails & hammer (or a nail gun)
Herbs
Twine
Clothes pins
HOW TO
STEP 1: Start with a simple frame. I already had a piece of mesh measuring 24" x 33" - so I used that as my foundation for the measurements. I cut my 2X2's into two 24" pieces & two 32" pieces. Then I nailed them together to form a rectangle.
STEP 2: Stain or paint your frame. Expecially important if you are going to use this outdoors like mine. I stained it using old stain I already had in the garage & a scrap of old t-shirt (t-shirt rags work the best for staining).
| 
|
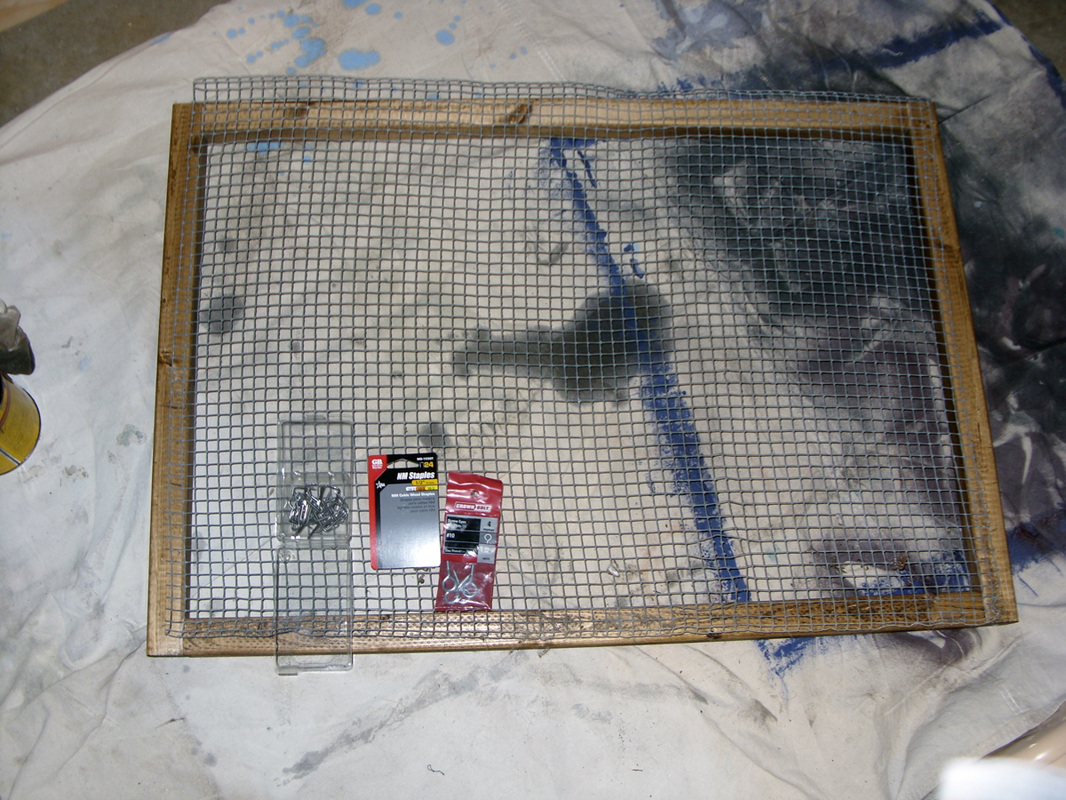
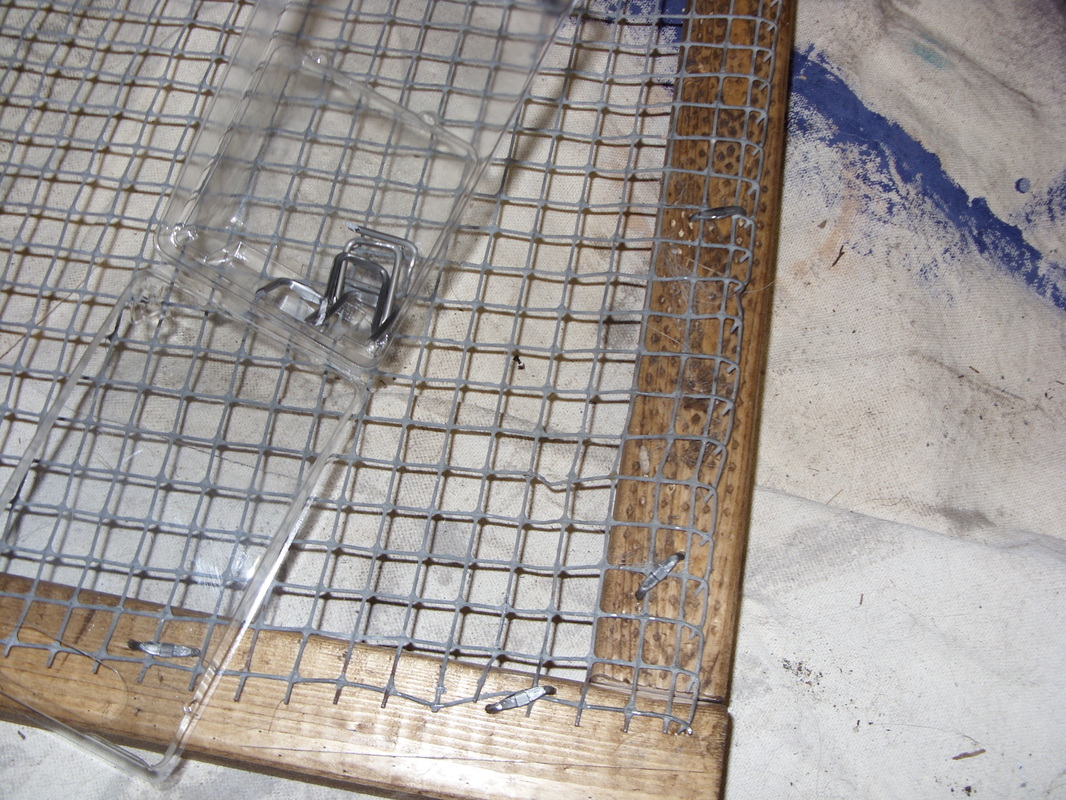
STEP 3: Tack your mesh to the backside of the frame using the "U" tacks. I like to start in the center of each length & then work my way to the corners.
| 
|
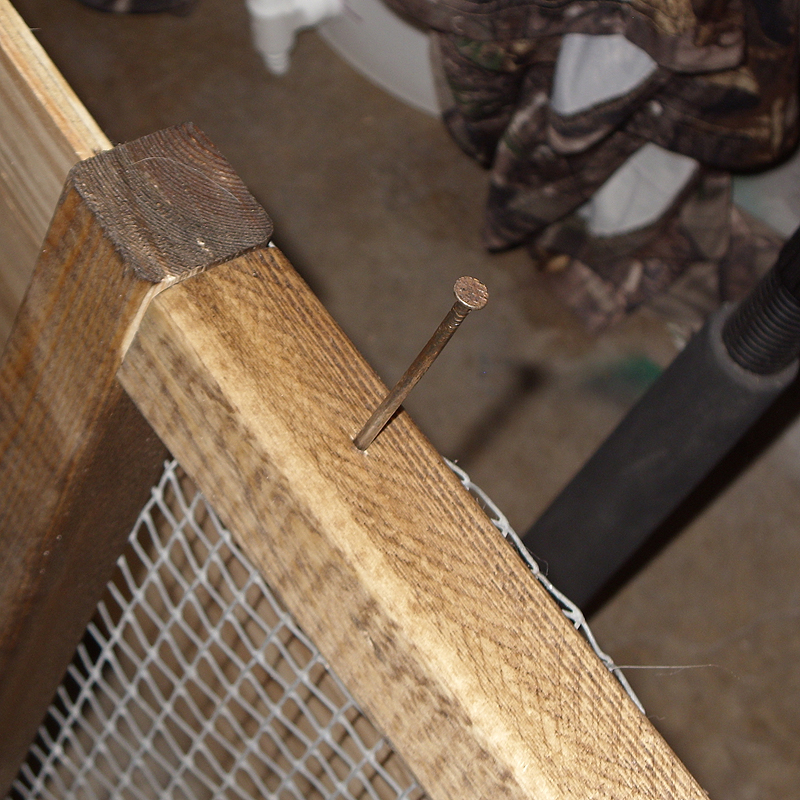
STEP 4: Attach the eye screws to the top. I used a fat nail to pre-punch a hole in the wood where I was going to screw in my eye screws.
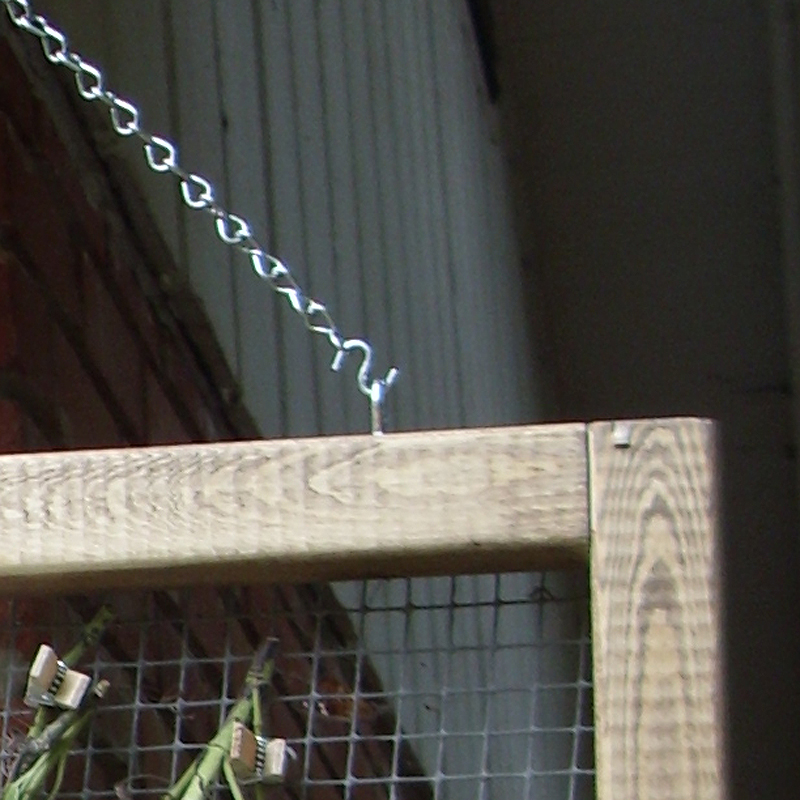
STEP 5: Cut your chain to the length you want & slip an "S" hook through each eyelet & each end of the chain. Hang it from your roof facia using a large cup hook. I typically have chain and "S" hooks around the house because I hang all kinds of junk from my trees! :o)
STEP 5: Cut your chain to the length you want & slip an "S" hook through each eyelet & each end of the chain. Hang it from your roof facia using a large cup hook. I typically have chain and "S" hooks around the house because I hang all kinds of junk from my trees! :o)
| 
|
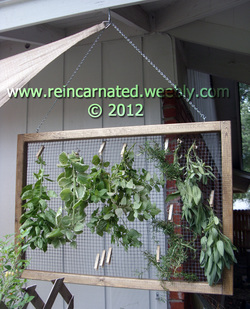
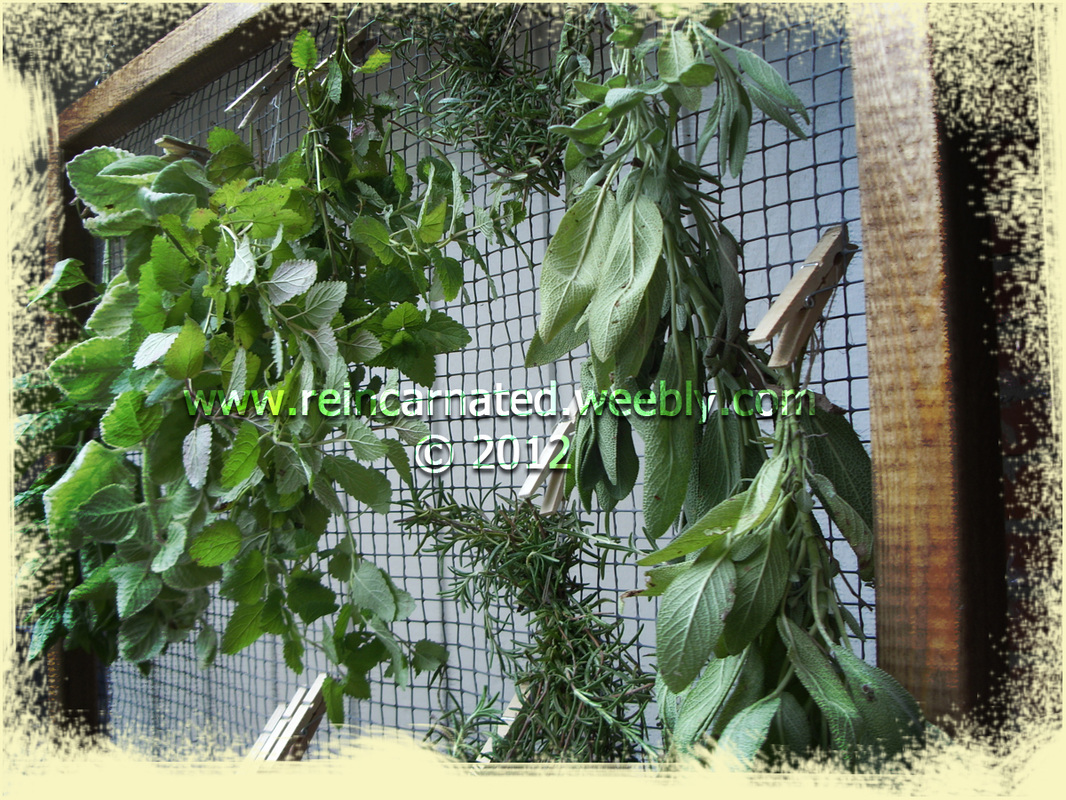
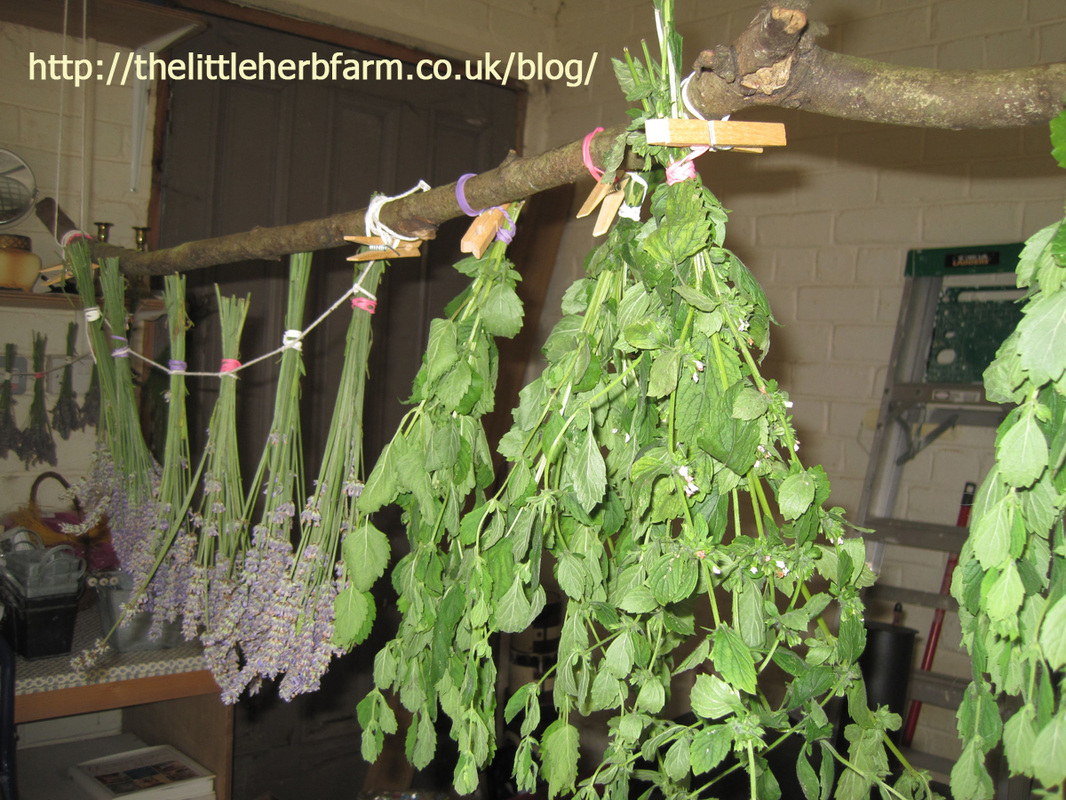
I bundled my herbs using twine. I like to use twine because I can tie the tails together to form a loop to hang the bundle from. Sometimes my bundles are too big to fit the clothespin over.
Hope you enjoyed this project.
Hope you enjoyed this project.
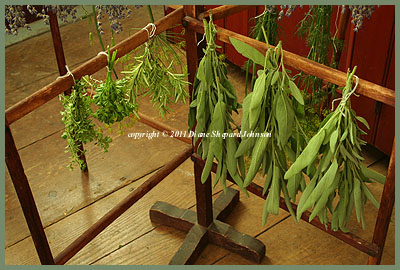
Here are some other fabulous herb drying ideas.
| 
|